
Repairing Advice
1. Identify the Damage
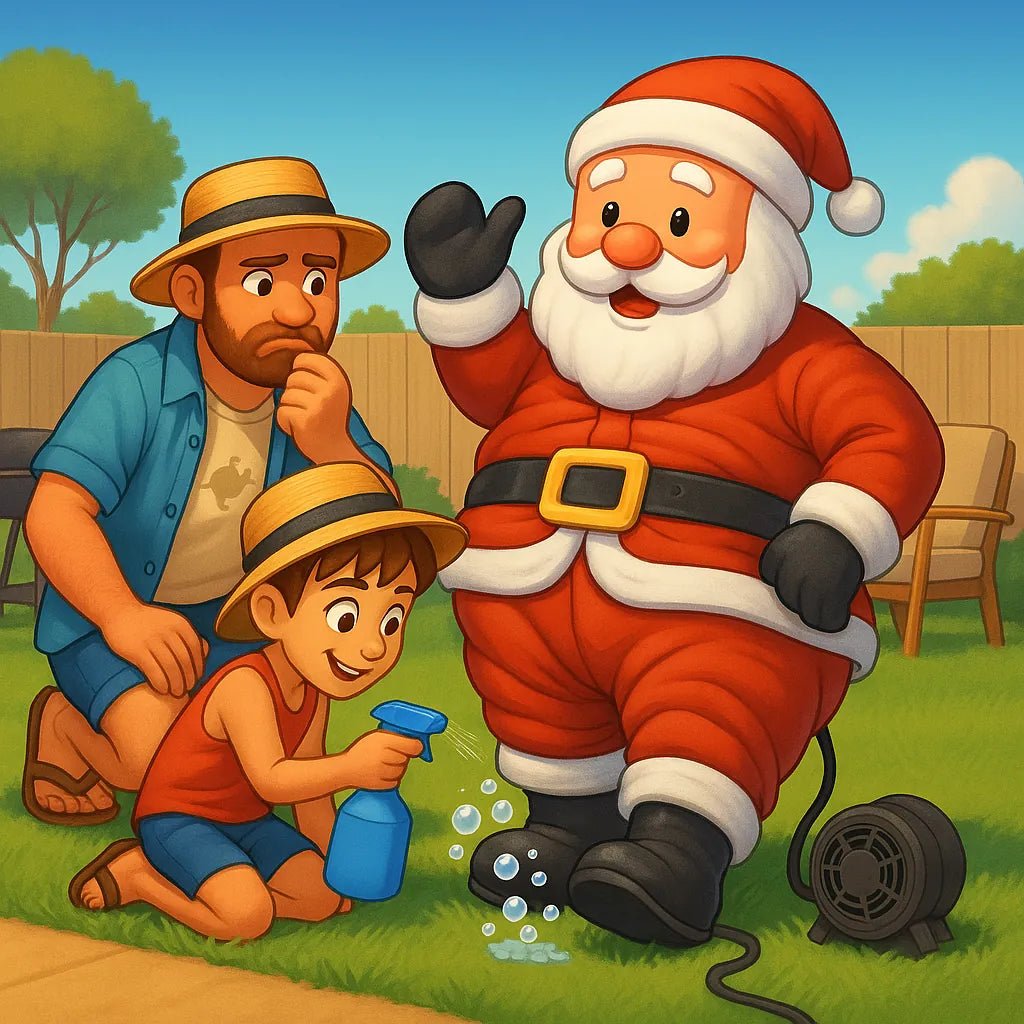
Before starting any repairs, inflate your decoration fully and inspect it carefully. Listen for hissing sounds and look for any obvious tears or holes. Sometimes a slow leak might be tricky to spot — using a spray bottle of soapy water over the surface can help. Bubbles will form where air escapes.
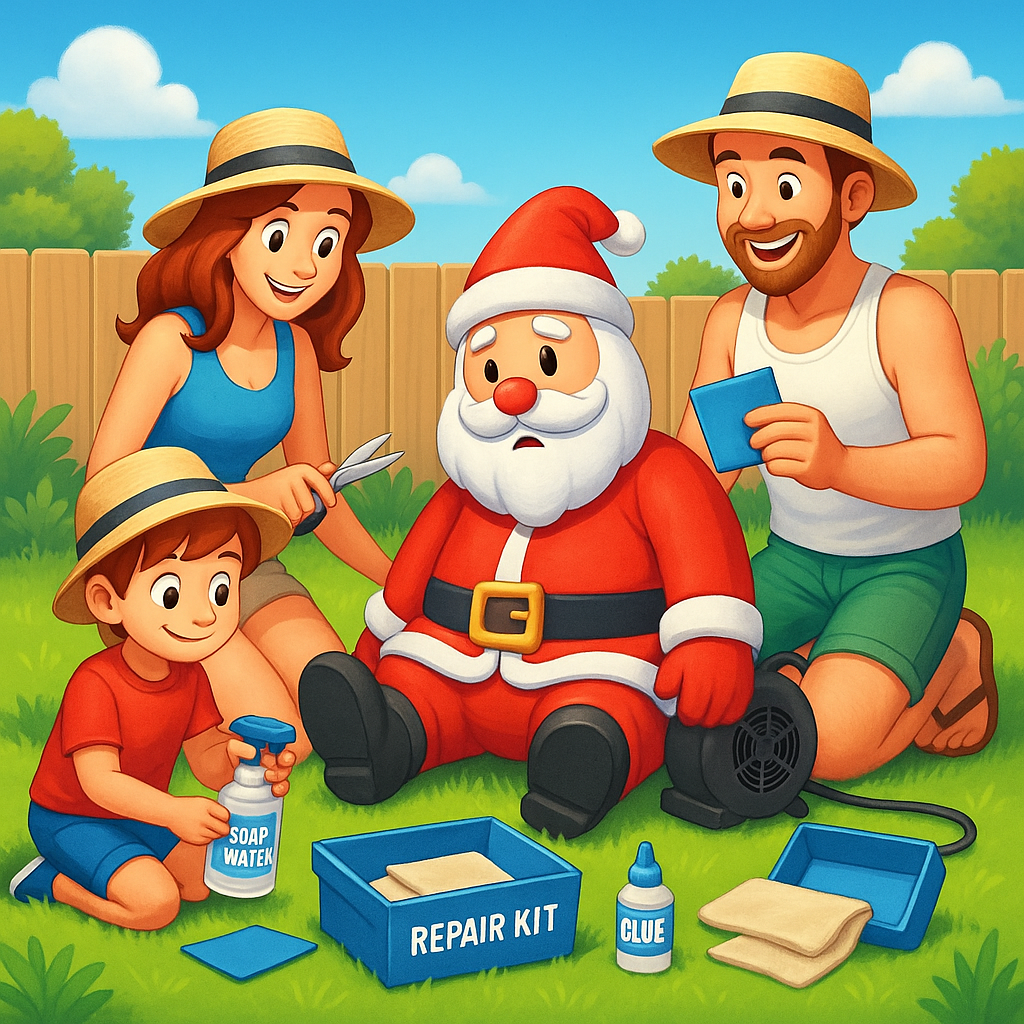
2. Gather Your Repair Kit
Most inflatable decorations include a small repair kit. If you can’t find yours, no stress! You’ll need:
- A vinyl or nylon patch
- Strong adhesive (like vinyl repair glue)
- Scissors
- A clean cloth
- Mild soapy water
Always repair in a dry, dust-free environment to ensure the best bond.
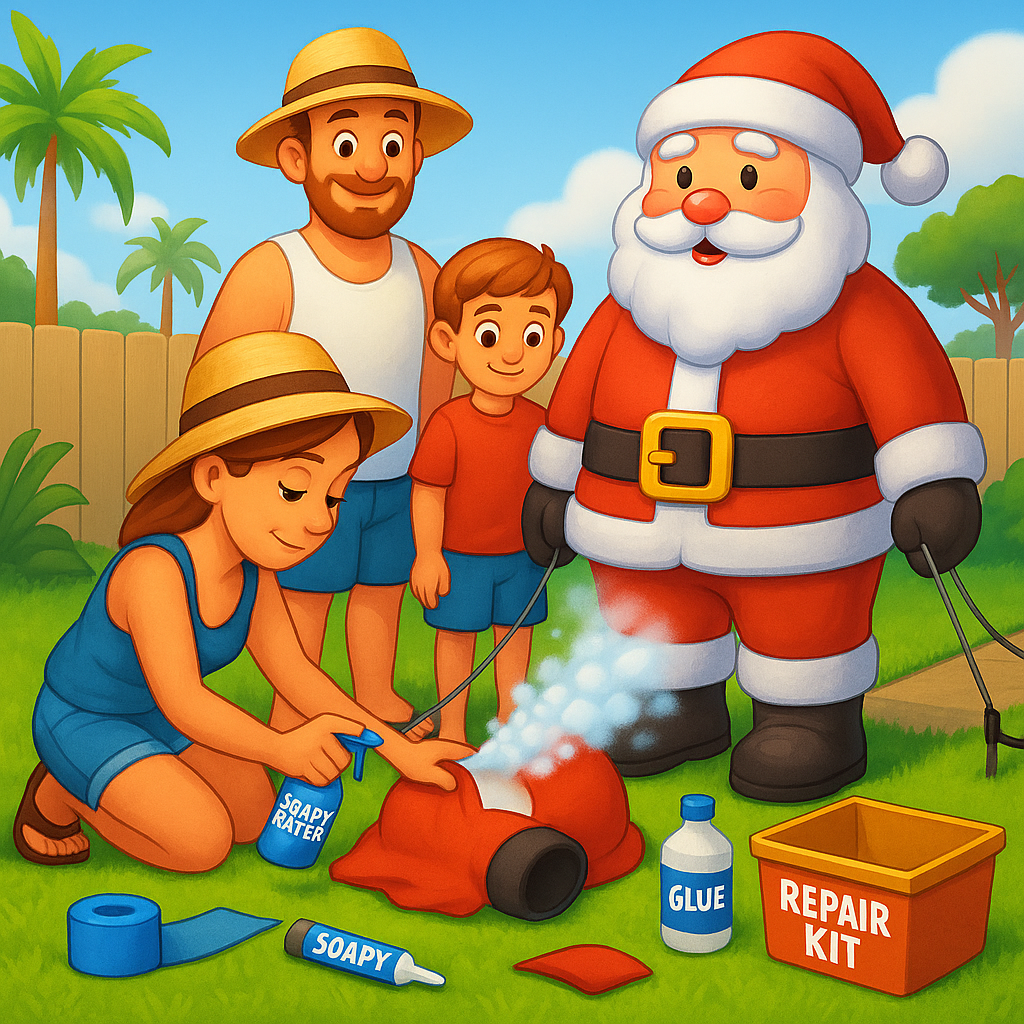
3. Cleaning the Area
Before patching, it’s crucial to clean the damaged area. Wipe it with a cloth and mild soapy water, then dry thoroughly. Any dirt or moisture left behind can weaken the adhesive’s grip.
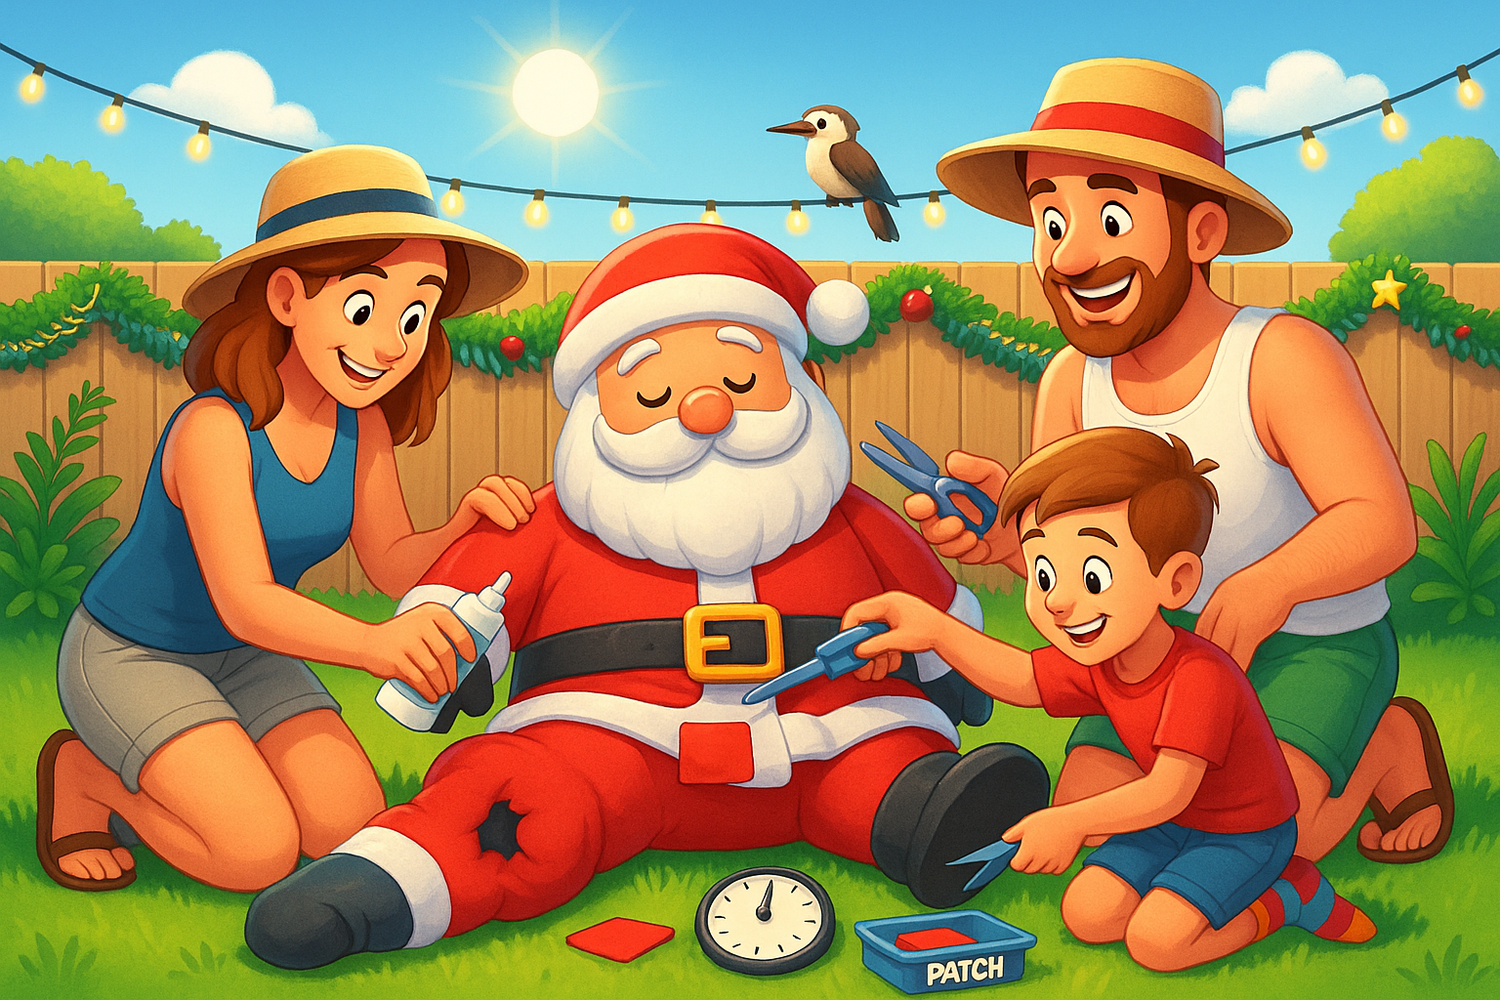
4. Applying the Patch
Cut the patch so it's slightly larger than the damaged area, rounding off any corners (this helps prevent peeling). Apply a generous amount of adhesive to both the patch and the inflatable. Press the patch firmly over the hole and smooth out any bubbles or wrinkles.
Allow it to cure fully according to the glue manufacturer’s instructions — usually around 24 hours — before reinflating.

5. Temporary Fixes for Quick Saves
If you’re mid-event or the weather turns, a quick temporary fix can be done with strong waterproof tape. Just remember, it’s not a long-term solution — plan to do a proper patch job when you have time.